
How to Add Google Authenticator
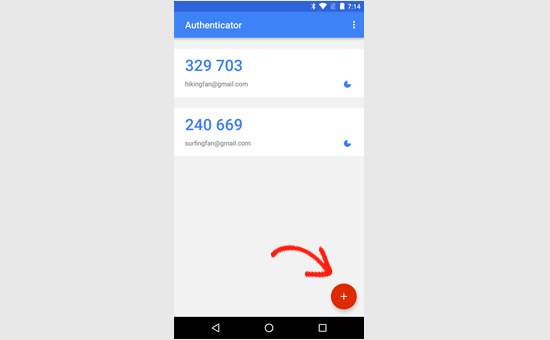
First thing you need to do is install Google Authenticator app on your phone. We are going to use the iOS terminology for the sake of this tutorial, but the process is similar for other devices as well. Visit the App store and search for “Google Authenticator”. Download and Install the application.
click on Users » Your Profile. You will see Google Authenticator Settings there.
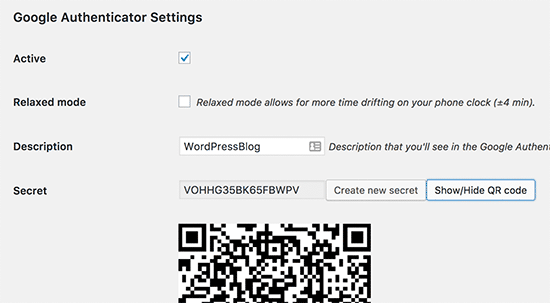
You will be asked to either scan the QR code or enter the provided key. You can get both these from Google Authenticator settings on your website.
Scan Bar Code if your description doesn’t have any spaces. Click Show QR code button in WordPress to see the QR code.
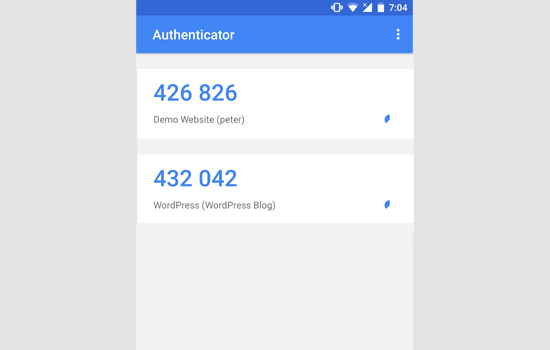
As soon as you scan the bar code or enter the Secret key, your WordPress blog description will appear in Google Authenticator. It will show you a random string of 6 digits with a 1 minute counter next to it.
Now when you login, you will see a two-step verification field that asks for Google Authenticator code.